Bryanna's Buttah


The write up for the Buttah is on Weekly Vegan Menu.

There are three components to this dish:
The Ingredients
The Equipment
The Procedure
The Result


First you will need the recipe. Get it here. 
For more information about ingredients, go here. 
NOTE: You must get the recipe and read the directions. 
Bryanna has specific directions for a few key things.


The Ingredients


Now you will need the ingredients.


From the top.
Soy Lecithin
Salt
Xantham Gum (or Guar Gum)
Lemon Juice


From the left.
Milk (vegan)
Cocoa Butter
Oil


The Equipment


Now for the equipment.


You will need a mold (I am using silicone large ice cube trays), quart glass jar or other tall container, stick blender and digital scale. Bryanna has more information about the scale at the link above. You will also need a pot and a bowl to melt the cocoa butter on the stove or just a bowl for the microwave.


The Procedure


Here we go!


Measure your cocoa butter. (Don't use the above measurement; it is not accurate.)


Using a whisk, whisk the lemon juice, salt and milk in the container you will be blending in.


Next add the oil and the lecithin. 
Do not mix it.


Set it aside.


Melt your cocoa butter, in a double boiler or in the microwave.


Before you add the melted cocoa butter (in the front) and the gum, have your stick blender and mold at hand.


Add the cocoa butter.


Add the gum.


Blend. 

Notice...


...how...


...fast...


...this...


...can happen.

This was the emulsification. It can take up to a minute, but mine happened in less than 20 seconds. As soon as the mixture looks creamy and thick, you are done.
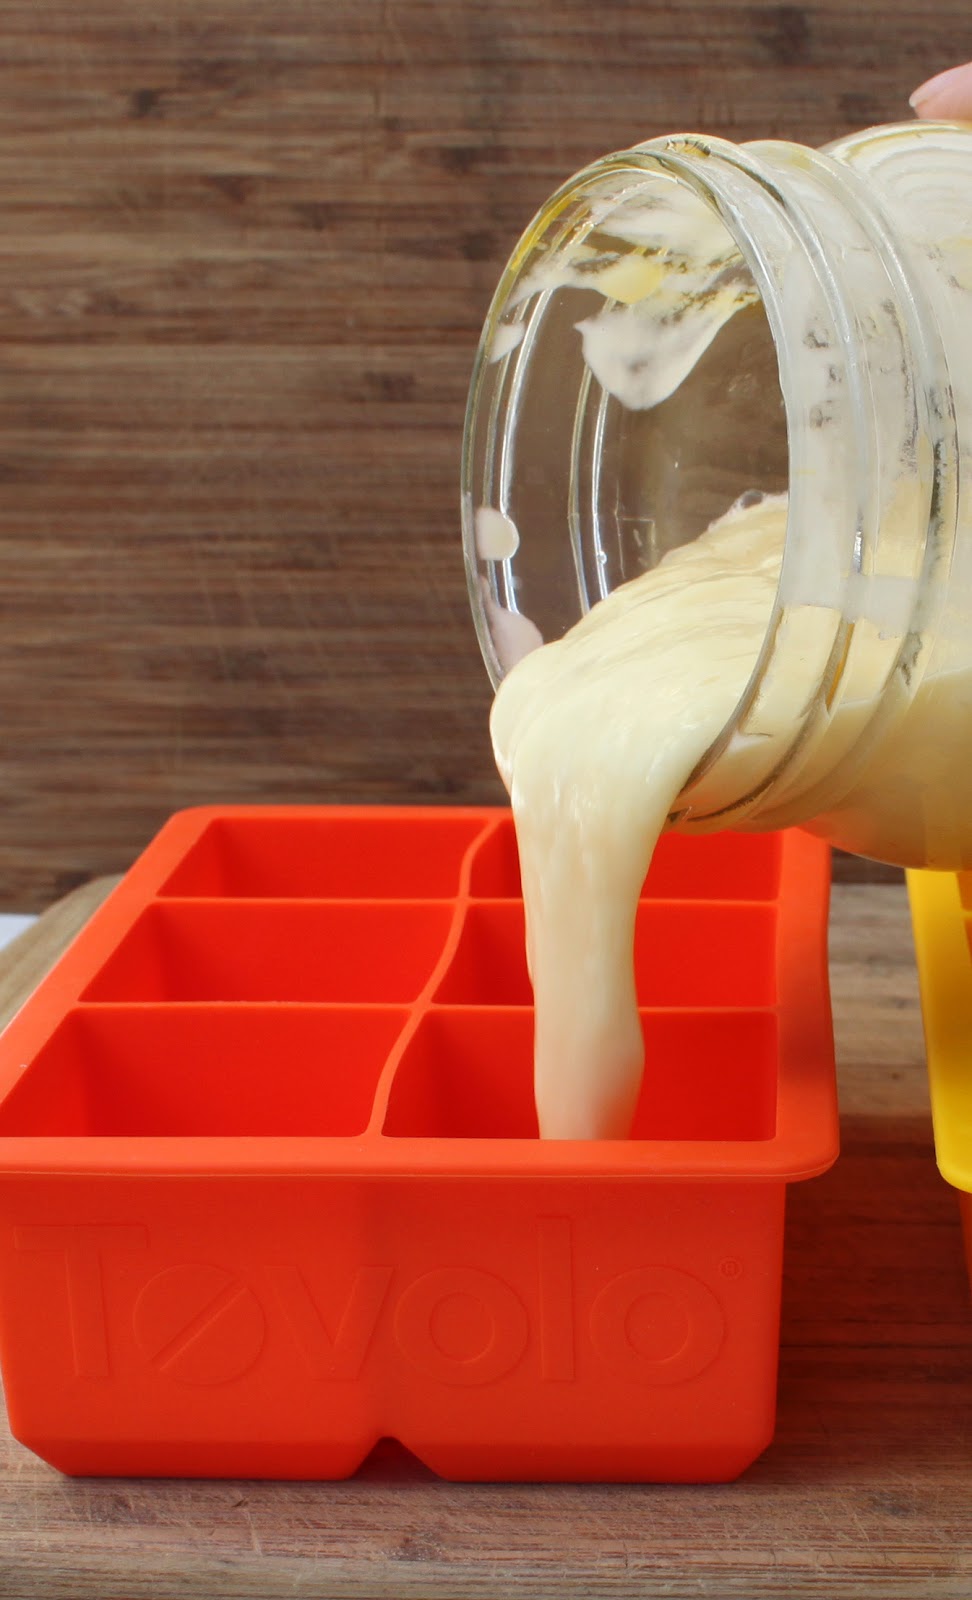


Do not waste time! 


Fill your molds...


...and place in the freezer immediately. 


The Result


There you go! Buttah! Delicious!

Thanks, Bryanna!


Etouffee

The write up for the Etouffee is on Weekly Vegan Menu.

There are three components to this dish:
The Seitan
The Roux
The Rest


The Seitan


Make the Sea Seitan (recipe link) according to the instructions at the beginning of this How-To: Sea Seitan.


When your seitan is cooled, proceed with the recipe by adding the paprika, thyme, pepper and basil. Set the seitan aside.


The Roux


There are different colors to a roux. The darker it is, the tastier it is, the less thickening power it has. We are making a chocolate roux, which is one below the brick roux which is one below burning. So, this roux is two steps shy of burning. You must keep the heat medium, do not walk away, stir constantly.


Add the flour and oil to the pan. Stir well to combine.


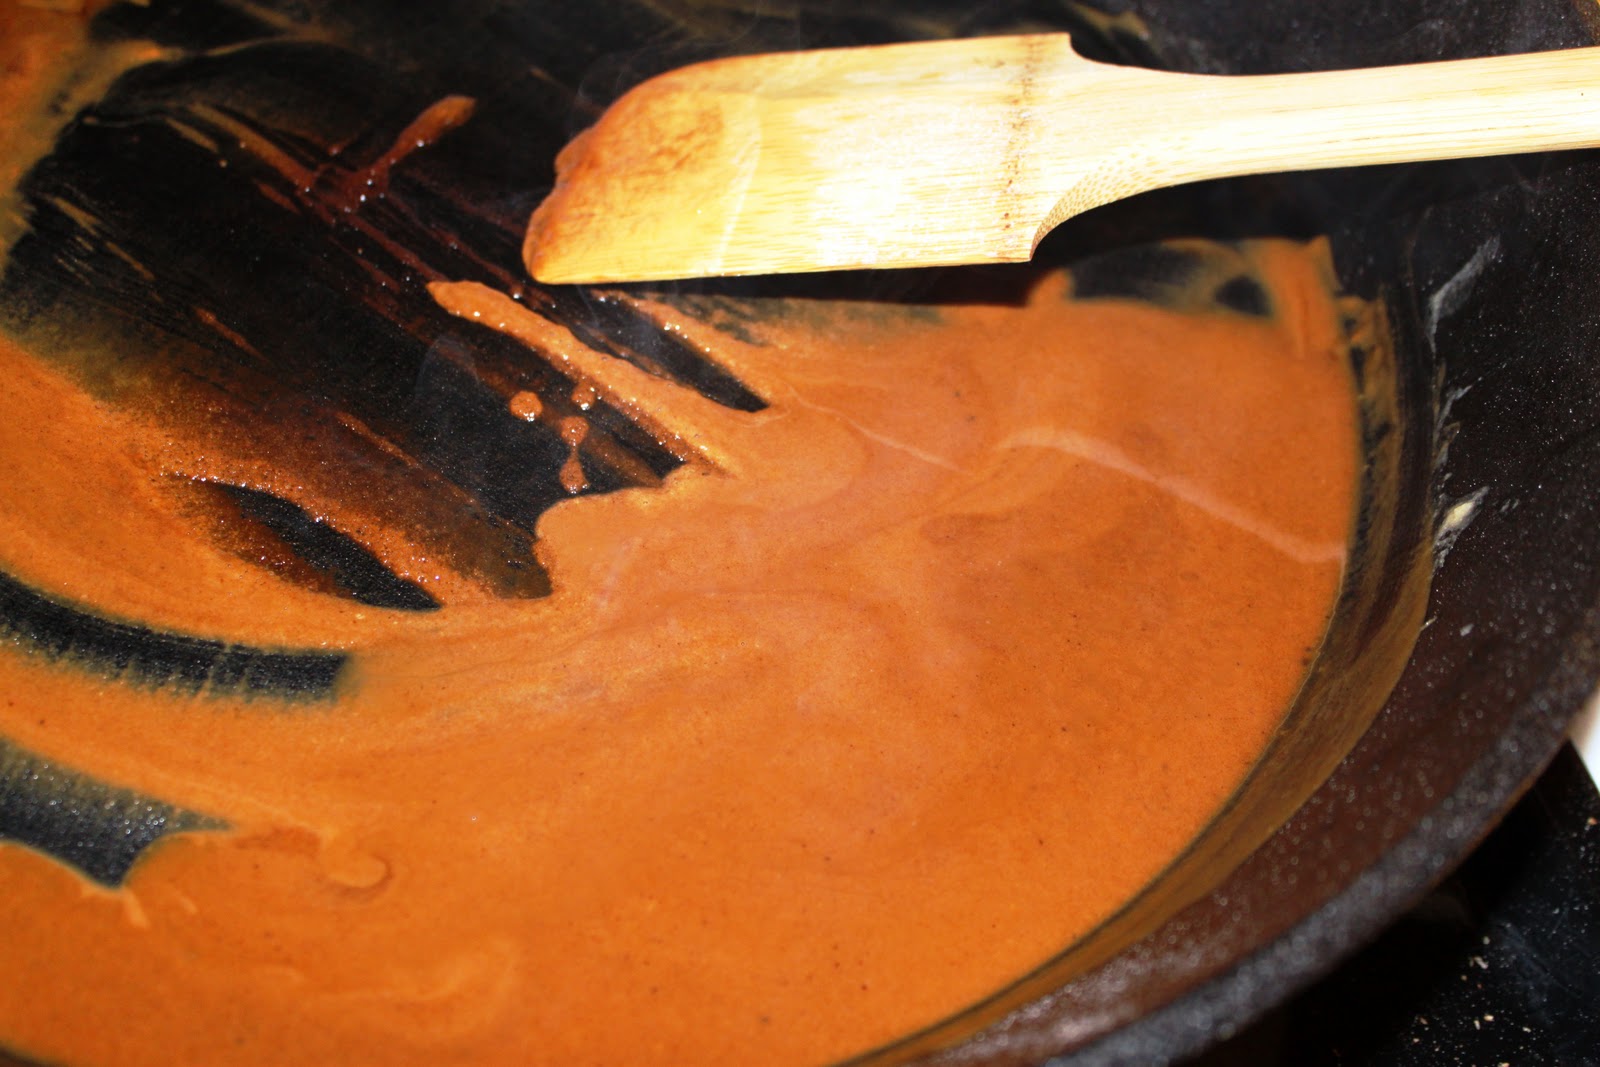
You can see it getting darker...


...and darker...


... and after about 20 minutes, it is this chocolate color.


Your roux is ready for the next step.


The Rest


The holy trinity (celery, onion, bell pepper) is the Creole answer to the mirepoux (celery, onion, carrot). Other culinary trinities can be found here.
Enough fun!


Add the chopped onions, celery and pepper to the roux. Mix well.


Add the garlic. If you prefer yours minced, that is perfectly fine.


Add the sliced vegan sausage as well and stir well to combine. Cook until you smell the garlic.


Add the seitan and again mix well.


Have your stock ready, as well as the tomato paste, Worcestershire sauce and hot sauce (not pictured).


Add the tomato paste.


Mix the paste into the ingredients well.


Cook the paste until the color changes to a darker red.
This enhances the flavor.


Add the stock, the Worcestershire sauce and hot sauce. Mix well.


Simmer, covered, for 10 minutes. (I used foil because I do not have a lid big enough to fit my 15-inch cast iron skillet.)


Serve with rice, garnished with green onions and parsley.


Seitan using the mixer

To make seitan using the mixer begin just like when you are making it using the bread machine. In order to prevent the monkey-bread look, here are some special instructions.


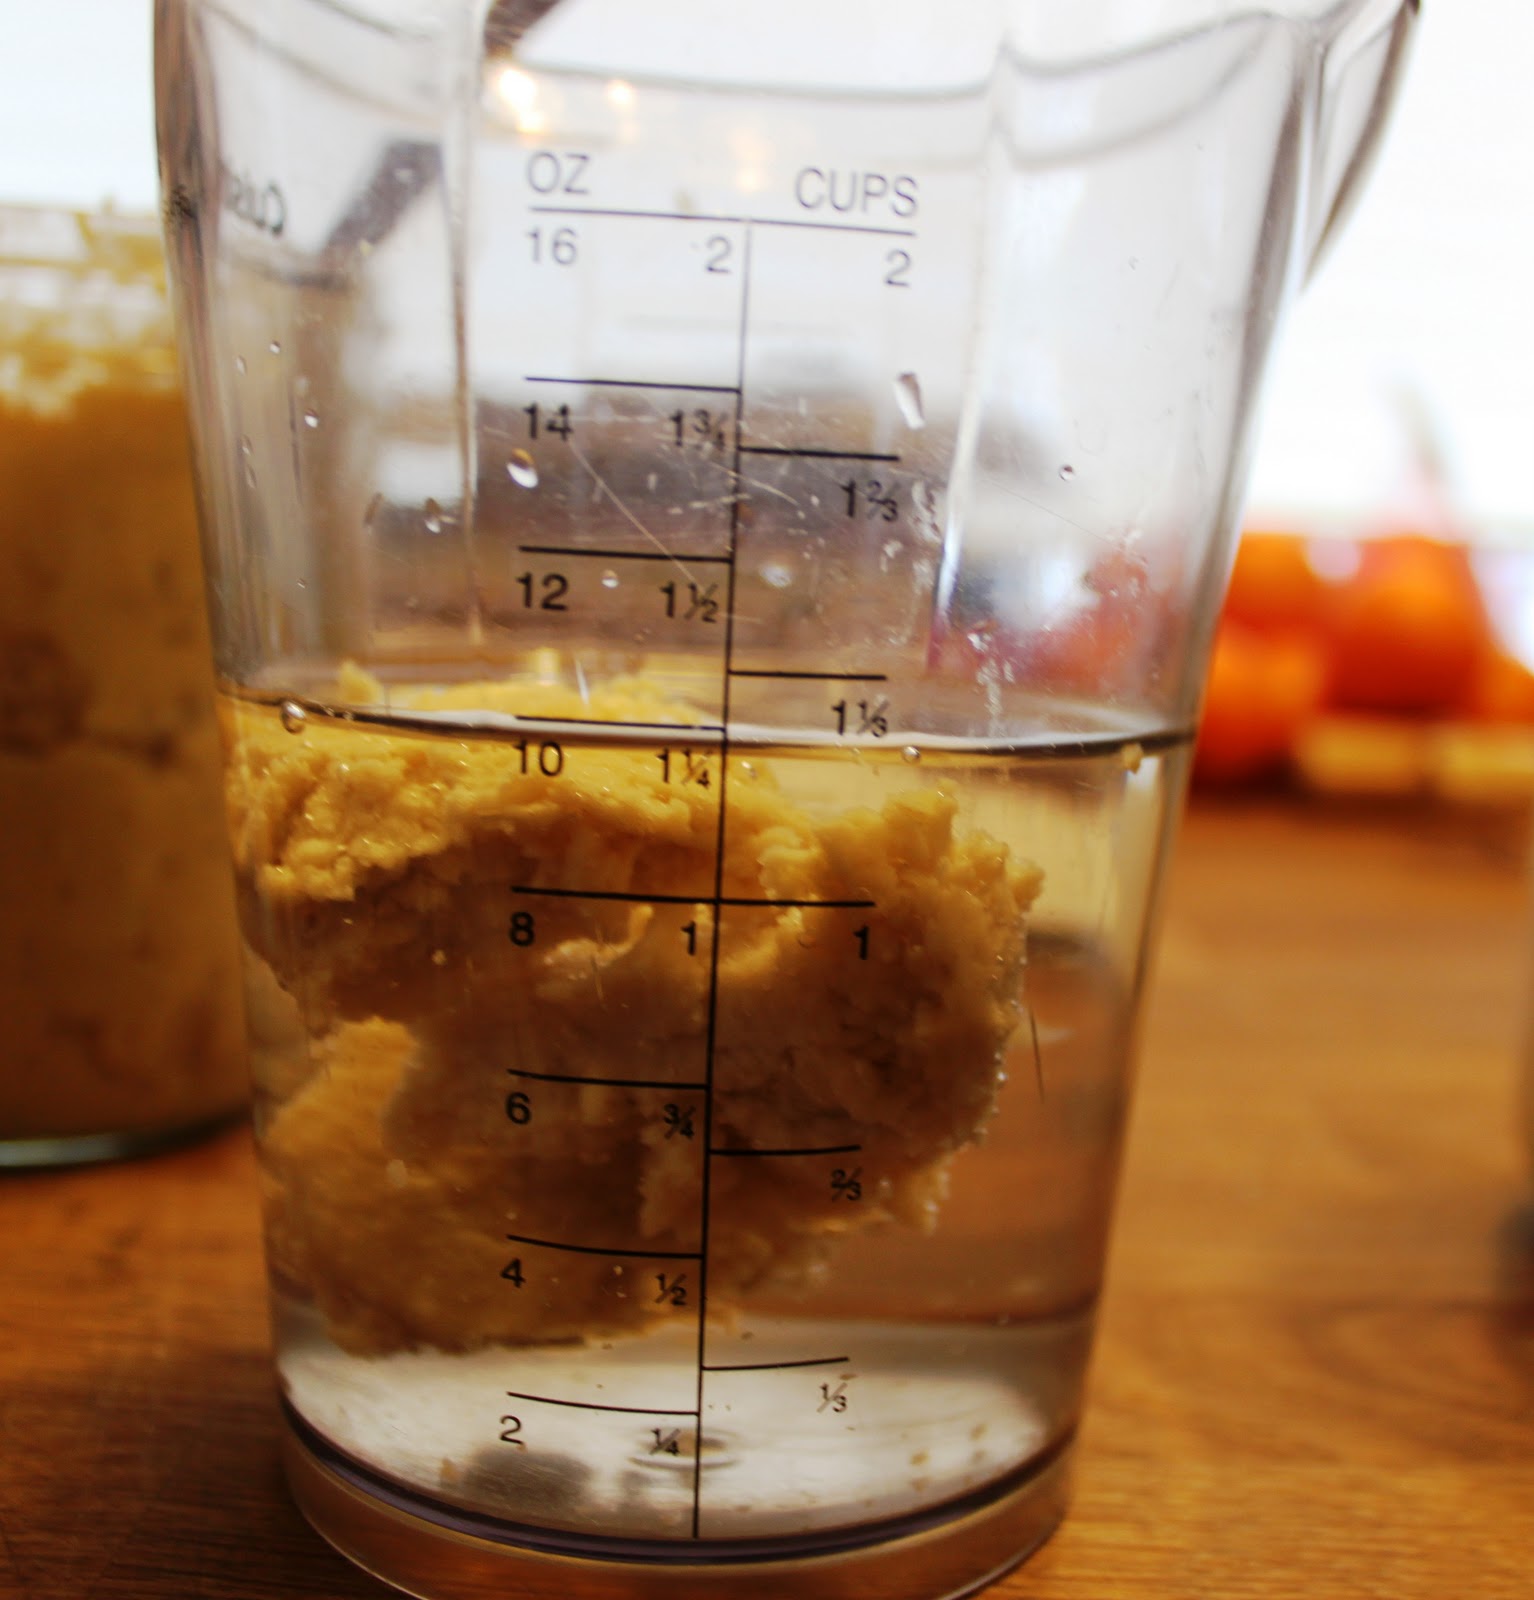
To make measuring the liquid ingredients easier, measure out 1 c of water first.


Add the tahini until the measurement has reached 1 1/4 c of water. This will give you the 1/4 c of tahini the recipe calls for.


Using a hand-blender, blend this and pour it into the bowl of your mixer.


Add the other 1 1/4 c of water that the recipe calls for also into the bowl of the mixer.


Along with 3 T of tamari.


If you have pre-mixed your batch of gluten flour, just add it as is to the mixer bowl.
If not, mix the dry ingredients in a separate bowl and then add it. 


Turn your mixer on low and mix it for 1 minute.


Scrape down the sides.


Continue to knead ...


on the lowest setting of your machine.


After 10 minutes this is what you have.


Using the spatula push the gluten mass together.


and take it out and knead it together for a minute. This is to let the gluten form one big mass; this is not to help the gluten strands form - that is what the machine is for.


Put it back in the bowl and cover it.


Let it sit for 30 minutes.


This is what it looks like after 30 minutes.


Begin kneading again on low.


for another 10 minutes. This is what it will look like.


Again take it out and form it back into one mass.


Put it back in the bowl and cover it again.


Allow it to sit for another 30 minutes.


This is where you will need to work to get it to be shiny and one lump mass.

Put it on the board in front of you and using your hand knead it. There are two ways to knead.

First kneading is like a loaf of bread, pushing the gluten away from you and pulling it back, overlapping it at times. Do this for a minute or two.

Second kneading is different. Now you do not want to knead it like a bread, overlapping it over and over again. Now you want to smooth it out. You are just kneading it on the bottom. So push it away from you but only on the bottom and cupping it with your hand, pull it back toward you.

The object is to smooth it and not overlap it, causing more breaking in the gluten strands.

Looking at the picture below, you see how my palm is pushing the bottom of the gluten away from me. Picture me doing this with both hands (the other one was photographing).


Once you are done, the gluten will be smooth and shiny all around except for the bottom. You can work the bottom by rubbing it on the board until it is cohesive. This won't be too smooth, though, but that is okay.

Allow your gluten to sit while you prepare the broth.

Cook as instructed.


When done...


there should be no monkey-bread appearance, where it looks like you stuff several loaves together.


Enjoy and post concerns or questions.


For Seitan Recipes, visit the Weekly Vegan Menu Seitan Page.